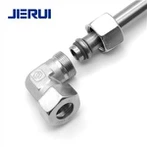
37-flare-flanges-installation
1.Tube selection
A tube grade suitable for cold-bending and flaring is to be used. We recommend the use of seamless precision steel, material St 37.4/St 52.4/ANSl 316L. Tolerances of tube outside and inside deameter to DIN 2391C(EN 10305). Calculated pressure according to DlN 2413.
2.Tube lengh determination
The tube length is determined by measuring the distance between the fittings (L). Dimension X must be subtracted for each tube connection.


3.Cut tube
cut made by the tube manufacturer idelivery-related source of faultsl. Saw the tube off at rightangles, an angular deviation of 1/2° relative to the tube axis is permissible. Do not use pip ecutters or cutting-off wheels as they cause severe burring and inclined cuts. Use a sawing machine/sawing device.
lmportant:
Form errors at the tube end, such as angular saw-cuts orinadequately deburred tubes,reduce the service life and the sealing capacity of the connection.
4.Proper deburring and cleaning
Deburr inside and out (max. 0,2 x 45°) and clean (Depress the trigger to fire the projectile ,shoot through at least 2 projectiles).

5.Slide the flange onto the tube
Slide the flange onto the tube. Also install sleeve if have.

6.Flare the tube
Lubricate flanging pin, then flare the tube end with the flaring machine. The flare must be at right angles to the tube axis and concentric with the tube. lrregular and eccentric flares point to defective tools or operating errors. Perfect flaring is the prerequisite to a long service life of the connecti0n.

7.Check the flared tube
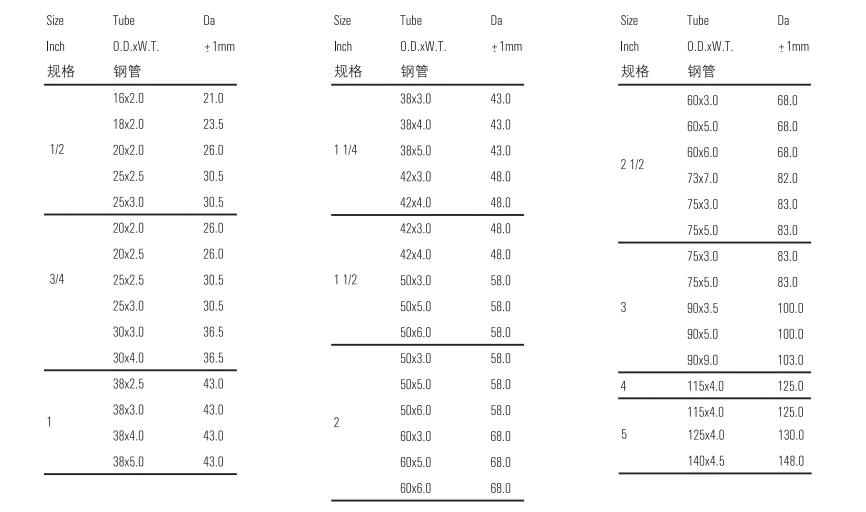
Verify the dimensional accuracy of diameter Da of the flared tube, and check for any impurities.Please refer to the tables for the respective dimensions.
8.0-ring is installed
The lubricated 0-ring is installed carefully into its groove. The metallic seal faces of the cone are inspected and also the 0-ring is checked so that no damage has occured during installation.

9.Fit insert cone
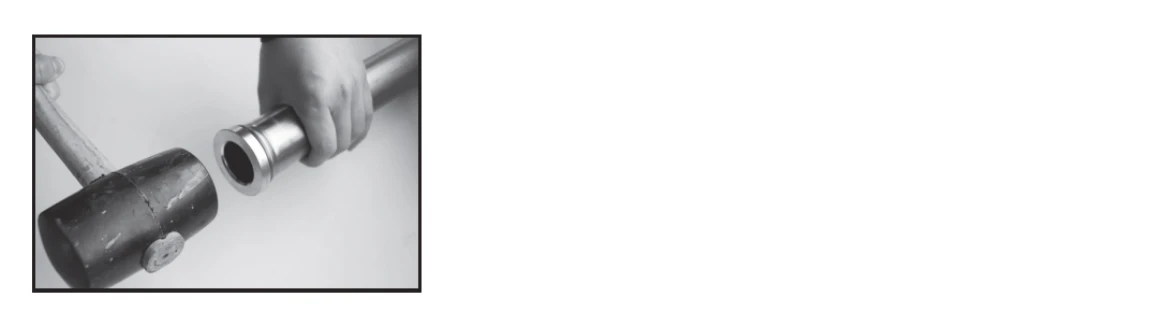
The insert cone is hammered in with plastic hammer lif needed)
10.Grease seal
The dowty seal is greased before installation.

11.Tighten the bolts
The bolts (nuts) must be tightened according to torque lsee below). Path-based tightening is not permissible! Tighten the screws in cross-over fashion (1-2-3-4) and in several torque steps until the maximum torque is reached!