


Hey there! I'm a supplier of SAE Socket Weld Flanges, and today I wanna talk about how to test the weld quality of these flanges. As someone in the business, I know how crucial it is to ensure that the welds on our SAE Socket Weld Flanges are top - notch. After all, these flanges are used in various hydraulic systems, and a poor - quality weld can lead to all sorts of problems down the line.
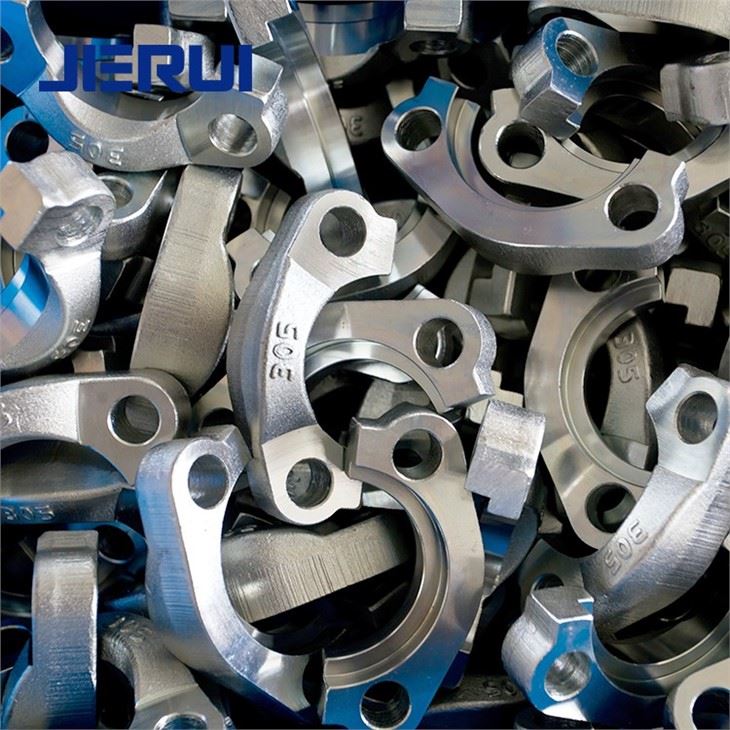
First off, let's understand what SAE Socket Weld Flanges are. These flanges are an important part of hydraulic systems. You can find more info about them on this page: SAE Socket Weld Flange. They are designed to connect pipes or other components in a hydraulic setup. The socket weld joint is created by inserting the pipe into the socket of the flange and then welding around the joint.
Visual Inspection
The first and simplest way to test the weld quality is through visual inspection. This is like the first pass in a quality check. You just take a good look at the weld. Check for any obvious signs of defects such as cracks, porosity, or incomplete fusion. Cracks are a big no - no as they can propagate over time and lead to a complete failure of the joint. Porosity looks like small holes in the weld, which can weaken the structure. Incomplete fusion means that the weld metal hasn't properly bonded with the base metal.
When doing a visual inspection, you should look at the entire weld area. Make sure the weld bead is smooth and has a consistent width. The edges of the weld should blend smoothly with the base metal. If you see any rough spots or jagged edges, it could be a sign of a problem. Also, check for any spatter, which are small bits of molten metal that have landed outside the weld area. Spatter can be a sign of improper welding parameters.

Dye Penetrant Testing
If the visual inspection raises some concerns, the next step could be dye penetrant testing. This is a non - destructive testing method that can detect surface - breaking defects. You start by cleaning the weld area thoroughly to remove any dirt, oil, or grease. Then, you apply a penetrant dye to the weld. The dye seeps into any cracks or pores in the surface. After a certain amount of time, you wipe off the excess dye and apply a developer. The developer draws the dye out of the defects, making them visible as bright lines or spots.
Dye penetrant testing is pretty effective at finding small surface cracks that might not be visible to the naked eye. It's also relatively inexpensive and easy to perform. However, it can only detect surface - breaking defects. If you suspect there are subsurface defects, you'll need to use a different testing method.
Magnetic Particle Testing
For ferromagnetic materials, magnetic particle testing can be a great option. This method is used to detect surface and near - surface defects in the weld. First, you magnetize the weld area. Then, you apply iron particles, either in a dry or wet form, to the surface. If there's a defect, the magnetic field is disrupted, and the iron particles will collect at the site of the defect, making it visible.
Magnetic particle testing is fast and can detect very small defects. But it only works on ferromagnetic materials, so if your SAE Socket Weld Flanges are made of non - ferromagnetic materials like aluminum, this method won't work. You can find some related flanges like ISO 6164 Square Flange which might have different testing requirements based on their material.
Ultrasonic Testing
Ultrasonic testing is a more advanced non - destructive testing method. It uses high - frequency sound waves to detect internal defects in the weld. A transducer sends ultrasonic waves into the weld, and any defects in the path of the waves will cause the waves to reflect back. The reflected waves are then detected by the transducer and analyzed on a screen.
This method can detect subsurface defects such as lack of fusion deep within the weld. It's very sensitive and can detect defects that are not visible on the surface. However, it requires a skilled operator to interpret the results accurately. Also, the surface of the weld needs to be clean and smooth for the ultrasonic waves to travel properly.
Radiographic Testing
Radiographic testing is another way to detect internal defects in the weld. It uses X - rays or gamma rays to create an image of the internal structure of the weld. A film is placed on one side of the weld, and the radiation source is on the other side. The radiation passes through the weld, and the film captures an image. Any defects in the weld will show up as darker or lighter areas on the film.
Radiographic testing can provide a detailed picture of the internal structure of the weld. But it's expensive and requires special safety precautions because of the use of radiation. It's usually reserved for critical applications where the integrity of the weld is of utmost importance.
Pressure Testing
After all the non - destructive testing, pressure testing is often done to ensure the functionality of the welded joint. In a hydraulic system, these flanges will be under pressure, so it's important to test them under similar conditions. You seal the welded flange assembly and then gradually increase the pressure to a specified level. Hold the pressure for a certain period of time and check for any leaks.
Leakage can be a sign of a poor - quality weld. If there are any leaks, it means that the weld is not able to withstand the pressure, and it needs to be repaired or redone. Pressure testing can simulate real - world operating conditions and give you a good idea of how the joint will perform in service.
When it comes to pressure testing, you need to follow the appropriate standards and guidelines. Make sure the testing equipment is calibrated correctly, and the pressure is increased at a controlled rate.
Weld Hardness Testing
Another aspect of weld quality is the hardness of the weld. Weld hardness testing can help you determine if the welding process has affected the material properties in a negative way. Excessive hardness can make the weld brittle and more prone to cracking. You can use a hardness tester to measure the hardness of the weld and the heat - affected zone.
The hardness of the weld should be within a certain range. If it's too high, it could be due to improper welding parameters such as high welding speed or low heat input. On the other hand, if the hardness is too low, it might indicate that the weld hasn't been properly quenched or tempered.
In conclusion, testing the weld quality of SAE Socket Weld Flanges is a multi - step process. You start with simple visual inspection and then move on to more advanced non - destructive and destructive testing methods as needed. Each testing method has its own advantages and limitations, and a combination of these methods can give you a comprehensive understanding of the weld quality.
If you're in the market for high - quality SAE Socket Weld Flanges or related products like SAE Flange Clamps, and you want to ensure the best weld quality, don't hesitate to get in touch. We're here to provide you with top - notch products and all the necessary technical support. Whether you have questions about the testing process or need advice on the right flanges for your application, we're just a message away. Let's talk and see how we can meet your needs.
References
- Welding Handbook, American Welding Society
- Non - Destructive Testing Standards, ASTM International