Installation
Step 1
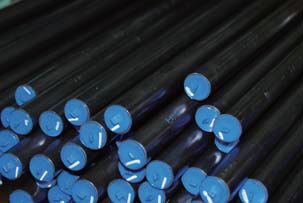
Tube selection
A tube grade suitable for cold-bending and flaring is to be used. We recommend the use of
seamless precision steel, material St 37.4/St 52.4/AISI 316L. Tolerances of tube outside and
inside deameters to DIN 2391C (EN 10305). Calculated pressure accordiing to DIN 2413.
Step 2
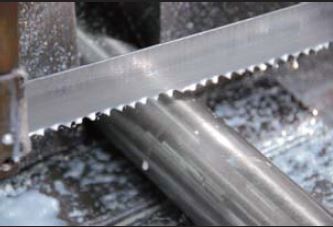
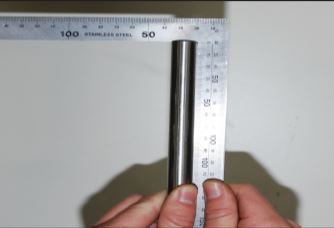
Saw pipe off at right angle
Saw off min. 10 mm from the parting cut made by the tube manufacturer (delivery-related Saw the tube
off at right angles, an angular deviation of 1/2° relative to the tube axis is permissible. Do not use pipe
cutters or cutting-off wheels as they cause source of faults). severe burring and inclined cuts. Use a sawing machine or saawing device.
Step 3
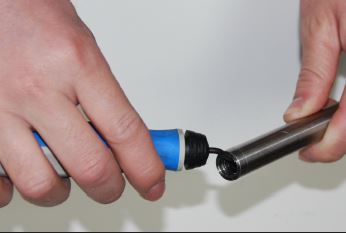
Debur the tube end and clean the tube
Debur inside and out (max 0.2X45°)and clean.The assembly area at the tube end(at the least twice the nut length),must be free from shavings,dirt and paint.
Step 4
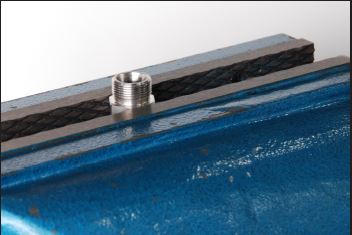
Fix the fitting with a vice
Fix the pre installation stud with a vice
Step 5
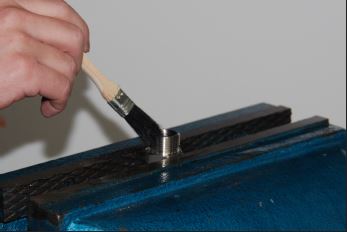
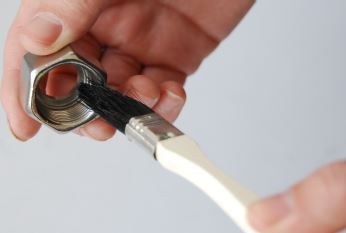
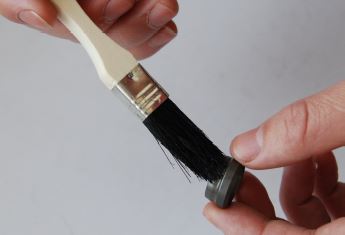
Lubricate nut,ring and thread with grease
Lubricate the threads of pre-installation stud , nut and ring as shown.
Step 6
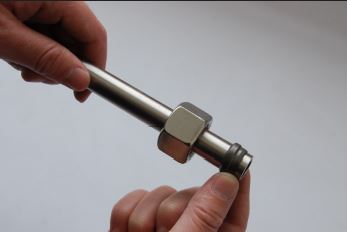
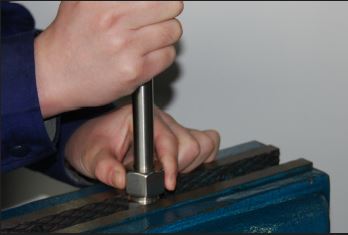
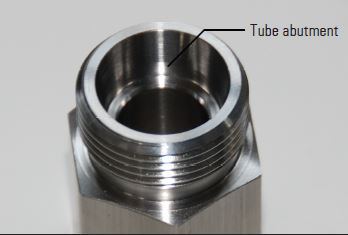
Pre-assembly
Place nut and cutting ring or T-ring as shown.
Step 7
Check
Check penetration of cutting edge. A ring of material must be visible in front of the cutting ring's cutting edge.Cutting ring may turn on tube but must not be capable of axial displacement.
Step 7
Final assembly
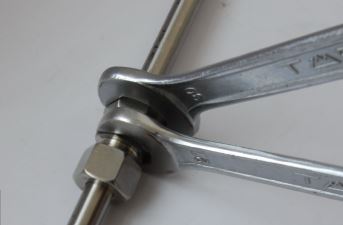
Tighten nut until a noticable increase in force is required.For final assembly,tighten the nut
further approx. 1/4 to 1/2 turn.
Use a second spanner to fix fitting body from moving.
On larger sizes, a spanner with sufficient lever length should be used.
Use pre-assembly machine to achieve accompishment of controlled final assembly.
NOTICE
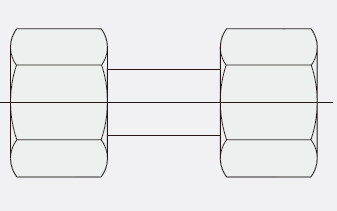
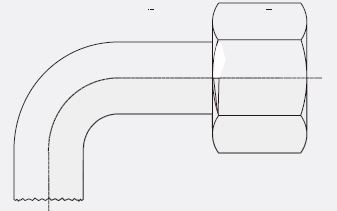
For tube bends, the length of the straight tube end up to the start of the bending radius must be at least twice the nut length.
The minimum length of a straight pipe should be at least three times the nut length.