
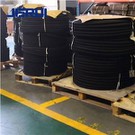


Sealing a hydraulic hose end is a critical process that ensures the efficiency and safety of hydraulic systems. As a professional hydraulic hose supplier, I understand the importance of this procedure and have extensive experience in dealing with various types of hydraulic hoses, such as the EN853 1SN Hydraulic Hose, EN857 2SC Hydraulic Hose, and EN857 1SC Hydraulic Hose. In this blog, I will share some detailed steps and tips on how to seal a hydraulic hose end properly.
Understanding the Basics of Hydraulic Hose Sealing
Before we start the sealing process, it's essential to understand why proper sealing is so important. A well - sealed hydraulic hose end prevents fluid leakage, which can lead to a loss of system pressure, reduced efficiency, and potential safety hazards. Moreover, it protects the internal components of the hydraulic system from contamination by dust, dirt, and moisture, which can cause premature wear and damage.
There are different types of sealing methods available, including crimping, swaging, and field - attachable fittings. Each method has its own advantages and is suitable for different applications and hose types.

Tools and Materials Needed
To seal a hydraulic hose end, you will need the following tools and materials:
- Hose cutter: A sharp hose cutter is required to cut the hydraulic hose to the correct length. Make sure the cutter is clean and well - maintained to ensure a clean cut.
- Deburring tool: After cutting the hose, a deburring tool is used to remove any sharp edges or burrs on the cut end of the hose. This helps to prevent damage to the sealing components.
- Crimping machine (if applicable): If you are using the crimping method, a crimping machine is necessary. The machine should be calibrated correctly according to the hose and fitting specifications.
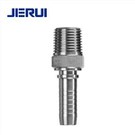
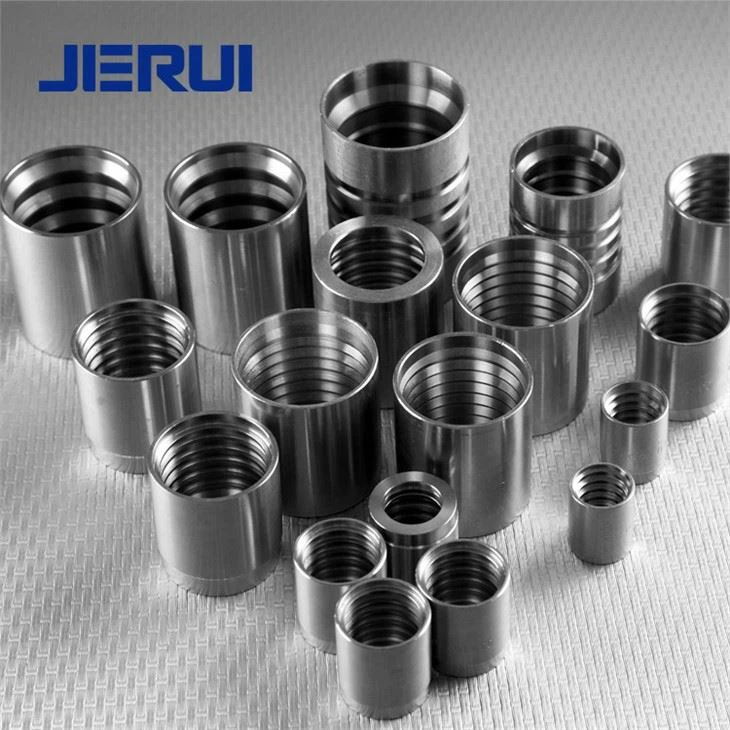
- Fittings: Select the appropriate fittings for your hydraulic hose. The fittings should be compatible with the hose type, size, and the hydraulic system's pressure requirements.
- Sealants (optional): In some cases, sealants can be used to enhance the sealing performance. However, it's important to choose the right sealant that is compatible with the hydraulic fluid and the hose material.
Step - by - Step Guide to Sealing a Hydraulic Hose End
Step 1: Measure and Cut the Hose
The first step is to measure the required length of the hydraulic hose. Use a measuring tape or a ruler to ensure accuracy. Once you have determined the length, use a hose cutter to make a clean cut. Make sure the cut is perpendicular to the axis of the hose to ensure a proper fit with the fittings.
Step 2: Deburr the Hose End
After cutting the hose, use a deburring tool to remove any burrs or rough edges from the cut end. This step is crucial as burrs can damage the inner tube of the hose or prevent the fitting from seating properly, leading to leakage.
Step 3: Select the Right Fittings
Choose the appropriate fittings based on the hose type, size, and the hydraulic system's requirements. The fittings should have the correct thread size, connection type, and pressure rating. For example, if you are using an EN853 1SN Hydraulic Hose, select fittings that are designed to be compatible with this specific hose type.
Step 4: Prepare the Fittings
Some fittings may require additional preparation before installation. This could include cleaning the fitting surfaces, applying a small amount of lubricant (if recommended), or installing O - rings or other sealing components. Make sure all the sealing components are in good condition and properly seated in the fitting.
Step 5: Insert the Hose into the Fitting
Carefully insert the deburred end of the hose into the fitting. Make sure the hose is inserted fully and evenly into the fitting. Some fittings may have a stop or a shoulder that indicates the correct insertion depth.
Step 6: Seal the Hose End
- Crimping Method:
- If you are using the crimping method, place the hose and fitting assembly into the crimping machine. The machine should be set to the correct crimp diameter according to the hose and fitting specifications. Once the assembly is in place, activate the crimping machine. The machine will apply pressure to the fitting, deforming it around the hose to create a tight seal. After crimping, check the crimp diameter using a caliper to ensure it meets the specifications.
- Swaging Method:
- Swaging is a similar process to crimping but uses a different type of equipment. The swaging machine applies a high - pressure force to reshape the fitting around the hose. This method is often used for high - pressure applications and provides a very strong and reliable seal.
- Field - Attachable Fittings:
- Field - attachable fittings are designed to be installed without the need for specialized equipment. These fittings typically use a mechanical locking mechanism or a combination of mechanical and chemical sealing. Follow the manufacturer's instructions carefully when installing field - attachable fittings.
Step 7: Inspect the Sealed Hose End
After sealing the hose end, inspect it carefully for any signs of damage or improper sealing. Check for any visible gaps between the fitting and the hose, and make sure there are no signs of fluid leakage. You can also perform a pressure test on the hydraulic system to verify the integrity of the seal.
Tips for a Successful Seal
- Follow the Manufacturer's Instructions: Always follow the manufacturer's instructions for the hose, fittings, and any tools or equipment you are using. Each product may have specific requirements and recommendations for installation and sealing.
- Keep the Work Area Clean: A clean work area helps to prevent contamination of the hydraulic hose and fittings. Make sure to wipe down the hose and fittings before installation and keep them covered when not in use.
- Regular Maintenance: Regularly inspect and maintain your hydraulic hoses and fittings. Check for signs of wear, damage, or leakage, and replace any worn or damaged components promptly.
Contact for Procurement
If you are in the market for high - quality hydraulic hoses, such as the EN853 1SN Hydraulic Hose, EN857 2SC Hydraulic Hose, or EN857 1SC Hydraulic Hose, and need professional advice on sealing and installation, we are here to help. Our team of experts can provide you with the best solutions for your hydraulic system needs. Contact us to start a procurement discussion and find the perfect hydraulic hoses and fittings for your application.
References
- Parker Hannifin Corporation. "Hydraulic Hose and Fitting Handbook."
- Eaton Corporation. "Hydraulic Hose Assembly Guide."
- Gates Corporation. "Gates Hydraulic Hose and Fitting Catalog."